Monday, June 29, 2015

What a Trip!

Many of you know that I travel with MJ Keating each June on her Women's Hiking Trip.  In the past four years I've visited places I've dreamed of and never heard of.  Ability to hike is not an issue, lucky me!  While MJ has nearly 20 years of these tours I'm still a novice, but earning my stripes.  Each trip has presented an inspiration for my quilting and sewing.  Mother Nature does wondrous work.  2014 was to Mesa Verde and Ouray, Colorado. 


 These two pictures, more rock and trees, are in South Dakota!
Can't say I found New Hampshire, 2014 trip, all that inspiring, but it was beautiful.  This year's trip was to Hocking Hills, Ohio, south and east of Columbus.  The flora was exquisite!  On the first day we stopped at the Toledo Botanical Gardens and on the stop on the way home was the Ann Arbor Botanical Gardens.  In Ann Arbor, my friend and roomie, Robin G and I played with our phone cameras and kaleidoscopes hovering over a simple pot of grass(real grass not the other kind) and a coleus plant.


Tonight is the Stitched Studio Beehive night! It should be fun.  Will update you later!

Since canning season has begun here's a pattern for a bag  to share your home made treasures in from Sew Mama Sew.

Monday, June 22, 2015

Sew and Share from June

I showed pictures from Becky's great tutorial on the two-toned binding with a flange a couple posts ago.  Here's the Sew and Share from the June meeting:


 Becky is showing the back to the quilt shown below.  She, too, participated in the Curve it Up Ruler block of the month at Stitched Studio.  I love how she floated the blocks and avoided using lattice.
 Ginger, our fearless leader, shows us her Irish Chain quilt.  Below is the back.  Her choice of colors are so calming.
 Nancy is showing her beautiful star from fabric that was available on the spring quilt hop.  Stitched Studio still may have this fabric.  Quilt Hops are so much fun.
 This quilt will be treasured by the young lady receiving it!  Below is only a portion of the village that Kathy made using the Squedge tool.  I apologize for the other pictures that did not turn out.  Any child with a few small cars and trucks can have a great imaginary time visiting all the towns people on the quilt.  I always wanted one of these mats! 
Phillips Fiber Art has free patterns available for the Squedge. Information on the many books is available at this website as well.  Enjoy!

Tuesday, June 16, 2015

A Cover for the Music Rolls....

Several years ago when I had the half bath repainted the painter would not re-attach the toilet paper holder.  He said, and he's right, too many things can go wrong.  He convinced me to get one of the stands similar to what he had at home.  Here's what I came home with:

It's really pretty slick and simple.  While I live alone and have long abandoned the over the top or up from the bottom idiosyncrasies, this stand accommodates everyone:  just turn the stand around and you're happy or perhaps unhappy.  Anyway, I'm experimenting with new paper and it does not come with any cover to protect the roll from dust, dog hair and just plain dirt that walks in.  This bath is next to the side door to the backyard and a few feet from the garage.  The dogs and I do a great job of ruining any cleaning job I do!  So here comes my little tutorial on keeping new TP rolls clean.

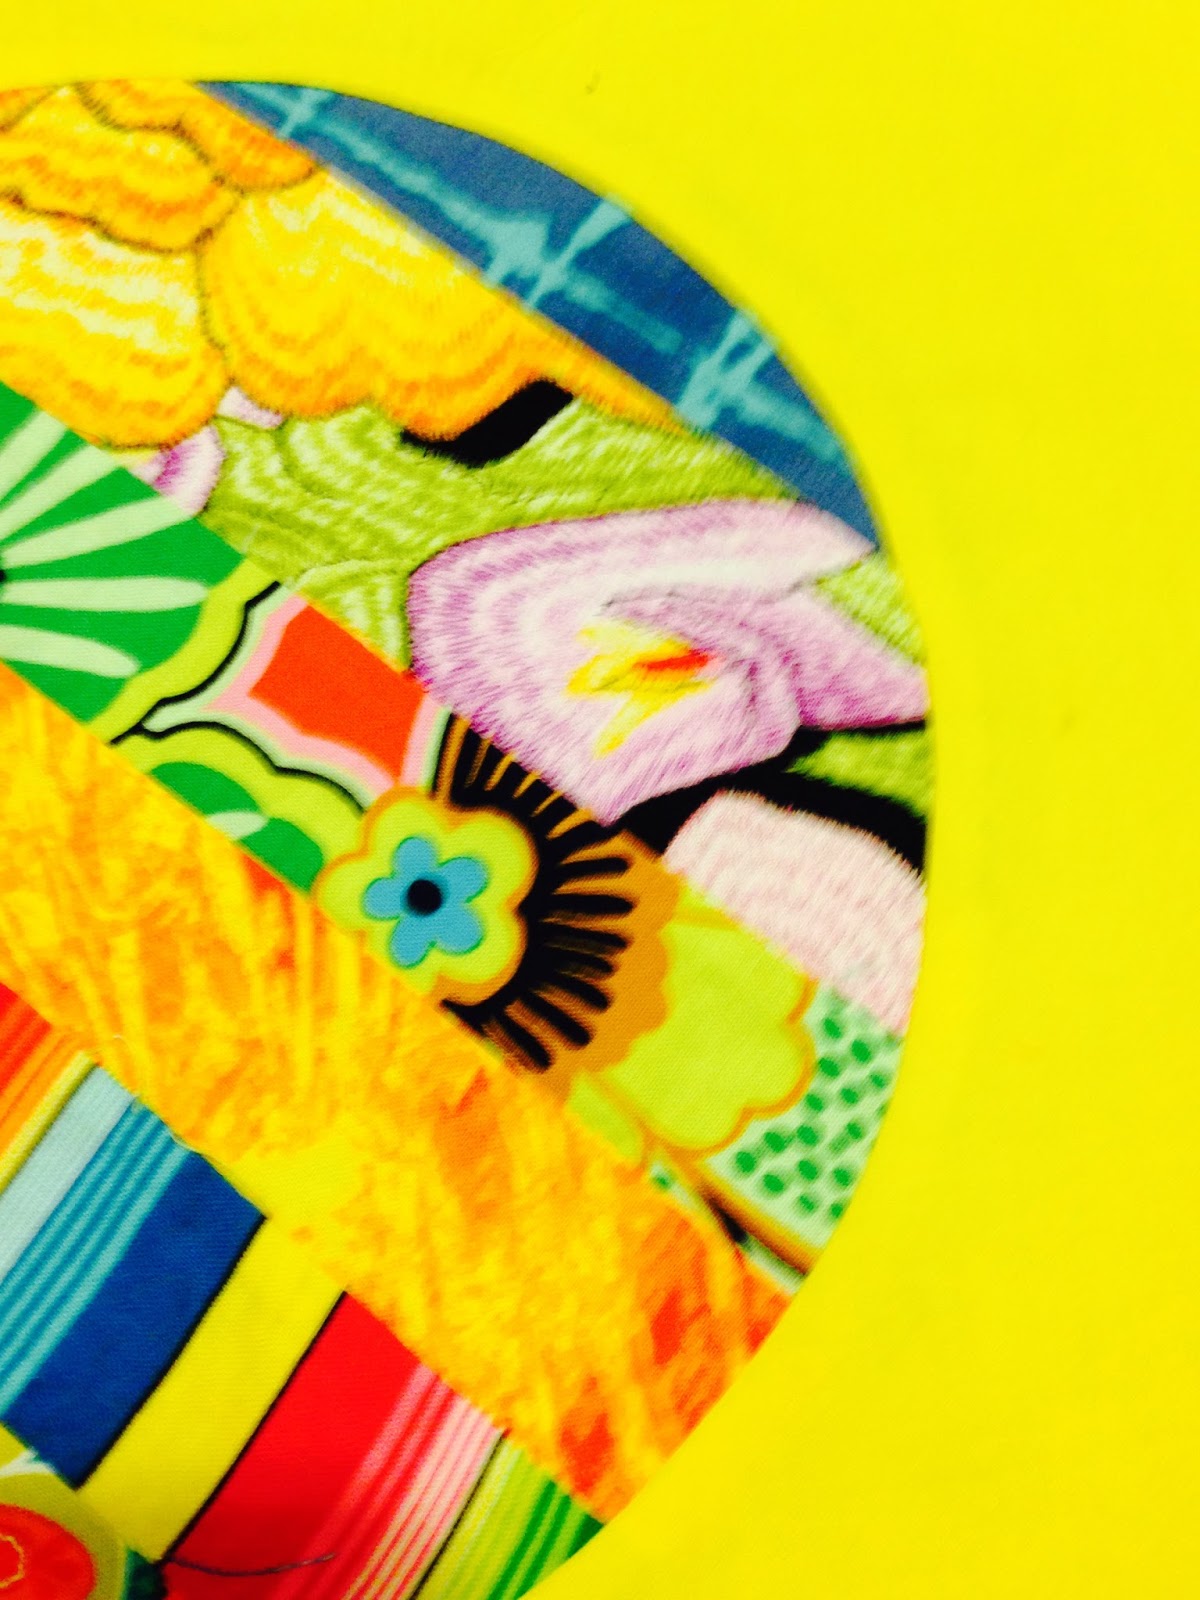
I chose fabric that never was made into place mats....what a change in thought!  This particular fabric is cotton but quite heavy with a cross weave.  It would make a great tablecloth for outdoors.  The next big choice is which fusible interfacing to use.  I have several from making a variety of hand bags and wallets.  There is stiff interfacing and then there is STIFF.  I opted for the latter.  If to do again stiff in lower case would be just fine.  I did not want this cover to slouch like worn knee socks ( yes, I wore them and was always pulling them up)

 After fusing the fabric I trimmed the interfacing peeking off the edges.  I also was hoping to leave the top selvedge as the finishing edge, as it was very nice selvedge. 
 This picture shows two things:  how stiff it was even after steam pressing the seam open and real air head thought #1:  The seam is basted, thinking I just plunk this zipper in one two three.  Lay it flat and sew up one side and down the other and the top tabs will be so even.  Dah!  It's so stiff I can't feed it through!  So the seam ripper video I watched a year or so came in handy.  You really need to watch this video to help "unsew" as one of the demonstrators said. 

After undoing the seam and standing on my head, since I had no instructions to speak French at for being unclear, you can see the zipper installed.  I used my old accounting problem solver technique:  "how should it be and what will it take to get there" approach.  The zipper was several inches longer than the  height needed, which worked out very well.  Keeping the zipper pull away from the needle did help while fighting the stiffness.  I chose not to line the inside, worrying about thickness.  For all the sewing I used my walking foot and by chance had a large micro needle in use.  The very sharp needle was very helpful.  The stitch length was 3.5.  I chose the larger stitch length in case I had to rip but instead it helped keep the feed smooth through the walking foot.  Also, the large basting type stitch was sure to keep me from having to rip it apart again!  Have I told you my grandmother was a Murphy!

I did add finishing to the top and bottom.  The standard binding for a quilt was used, only attaching it first to the inside and machine top stitching on the outside (no hand work).  My Janome 6500 is a great machine in the quilting family of machines.  I do miss it not having a swing arm.  I opted to not set up my small Brother machine which would have made the sewing of the binding so much easier.  It came out well enough for the first sample and for my use.

 Almost done! As you can see the top zipper tabs needed disguising.
 If you should attempt this project or a similar one, be sure to sew across the zipper bottom before trimming.
 The top stitching added a finishing touch but was also needed to flatten the stiff edges from the interfacing.  This feature was completed as each side of the zipper was sewn.
 Wrestling with the bear began when attaching the binding.  I'm not holding the left side up in the above picture.  It had a life of its own!  My stitching speed was about -10mph (negative).
 The finished project!
All in all after the fusing of the fabric, my impromptu project took just a couple hours.

How are you spending your summer's free time?  This project definitely kept me entertained while the Biblical floods came to West Michigan!


You may enjoy the tutorial from  Sew to Love It demonstrating the ladder stitch.  It's a nice method to know when enclosing the gap when doing a flip and turn project.

Sunday, June 7, 2015

GRMQ June Meeting.....

While we were a small group last Tuesday we are a productive and fun group.

We had a tutorial on a binding that is very similar piping as a decorative enhancement. Kathy N had a darling table runner in Christmas holiday fabrics in which she was adding the Faux Piped Binding by Trisha Chubbs. 


If you have done the two toned binding, as shown at first glance above, the method is very similar.  Kathy pointed out that when attaching the binding, attach the binding from the rear first.  As you fold over the binding, you can then manipulate how large of a piping effect you want.  The final attachment is done by machine.  Since the binding is already attached on the back side, if your top stitching goes awry, it's still good.  A great way to use the stitch-in-the-ditch technique as well!  Perhaps another tutorial will be on making prairie points.  Thank you, Kathy!

We had a great discussion on membership.  We know more quilters would love this group - we so casual but productive.  I am personally excited about our retreat planned for Halloween weekend.  This retreat will be my first, but it's on Lake Michigan!  How cool (or cold) is that!  The cost is so reasonable from Friday - Sunday; $25!  It's so worth becoming a member at $30 for this great opportunity.  The minutes will reflect more of this discussion, but we also discussed just coming for the day since it's so close:  between Grand Haven and Holland.

Every month we have homework: we're given one pattern and told the colors.  For those that complete the block can enter their name to win the blocks for a free quilt top.  Since I won in May I can sew but not win until I make the blocks into a project.  We did clarify the rules:  fabrics must look solid.  Most of us understood this rule for the first month, but unclear in June's block, as you will see.  However, July's blocks should be interesting, while also looking solid.

First, here are the June blocks won my Marcia:


There were a few more blocks, but this blockhead missed them.

July's pattern, available on our Facebook page will be 16", requires two colors but  PLEASE note our 2 color requirement:

It will take me all month to design the color arrangement!  So if we do a strippy HST, does it still have the appearance of a solid?  Like a said above, we are a fun group!

Since our Facebook link is above and you want to become a friend, just request friendship and you can be added. 

Lovely and Enough has a tutorial on no sew hexies.  Yeah! 


Friday, June 5, 2015

Always a Princess never a Queen until....


last Monday evening.  Our Stitched Studio Modern Bee had our May meeting in June because of the holiday.  I received my blocks - oh so much fun!  My choice for the block avoided piecing squares and triangles but did involve sewing a circle into a square.  As many of you know I've become very, very interested in curve sewing.  After relaying my colors of choice and that they could either strippy piece the circle, as in the pattern book, or fussy cut I let them loose.  They also could follow the book's instructions, try a method I devised for my inabilities or a couple different videos on circle sewing could be used.  Here are the results. The original pattern called for the center stripe to match the background, so it would bleed into the background.  That requirement was also removed.  While I only wore a uniform in school for 4 years, the sameness scarred me for life.....as you can tell.


 oops!  pardon Raggedy Ann's legs up there
The lighting in my sewing room has distorted some of the beautiful colors, but they will do wonderfully together.  Teal, blue and bright white were the basic colors, the other instructions requested colors that would make a dull day bright.  They all do this cheery function.

All types of methods were use:


 The beautiful yellow block used the usual raw edge seam sewing.  Perfect:  no stretching or puckers.
 This Busy Bee used raw edged applique by machine, again perfect!
 See the slash marks?  This method looks like it came from one of the videos.  Again - perfect!
Traditional applique, by hand, was of course done by Caroll - my teacher and inspiration!  I don't know if she used needle turn or freezer paper with starch...will have to ask.
Up close, this view shows the front view.

Below are the signature blocks we also give with our blocks.  We had such a fun discussion about this pattern because of the challenge it presented.  Matching the sig blocks with the large blocks is a quilter's version of Where's Waldo.  The strippy blocks are clues to the worker Bee!


Thank you one and all.  I love all of them and the diversity.  Such a great challenge!  After experimenting from my stash and shopping trip, here are the fabrics for the QAYG backs and connecting lattice.

The circles highlight my colors and the square, the green I love and the navy will connect and frame the squares.

I'm sure Stitched Studio is taking names for another hive to start. Contact the store at 616-570-0369.  We meet at the store and  we have a couple ladies come from the Middleville/Hastings area and I believe two come from the Portland/Lansing area.  We are a very special group....start one of your own!  Here is the store's website. You can also follow us on Instagram at #stitchedstudiogrmodernbee

If you are interested in learning the technique for machine sewing a circle into a block the internet obviously has many videos available.  While I don't really want to be a commercial promoter, Missouri Star Quilt Company has a plethora of tutorials to help us all, including sewing circles into a square.

Again, thanks to all my fellow Bees.


Wednesday, June 3, 2015

Mod Squad

I've posted in the past how on the 4th Wednesday of every month Caroll D directs those of us wanting to play with modern blocks.  We meet at the Attic Window on Alpine NW.  Today was a very productive day for me.  Our assignment was the keyhole block.  The originality of Rosa, Adrienne and Caroll just intimidate me.
 Adrienne used her oranges fabric......
 Moi!
 Rosa's block is so original by using the black with multiple colors!
 And of course, Caroll's without her picture.....

We have such a nice time, please join us in June, mark your calendars now for June 24 starting at 10 a.m. at the Attic Window  (I'll gone on my hiking trip) but you know Caroll and Adrienne!


Once I finished the project I moved on to our GRMQ square for the month.  I must admit the diagram was a bit tricky at first, but a few concentrated moments the simplicity of it broke through my mental log jam.  Here's my block and Caroll's:


 I must admit chosing these fabrics was difficult, the orange and cream were easy, but finding the right teal was a challenge with my stash.  However, I have attachment issues with it now!  Silly girl!