Tuesday, October 13, 2015

QAYG My Way

It's very common now for the quilt bloggers offering a quilt as you go( QAYG )method.  I have tried several methods, including the early method that keeps the back looking more traditional - one piece.  My newest journey began watching my buddy Caroll D teach her class on QAYG ala The Quilting Edge technique.  I just started with this method wanting only the sash joining process.  I did it on this quilt:


The other two tops from this BOM experimented with various sash widths.  These quilts have added strips on the front and back by cutting batting strips to size and adding strips to cover.
 The top selection has narrow strips whereas this quilt has wide strips.  The back below worked out the best as I limited my choice of fabrics and thread choices.


Recently, I've had larger quilt tops to complete and really wanted to work the technique a bit.  Larger batting strips are far easier to cut than 3/4" strips.  It's a great way to use scraps but so annoying with 20 squares or more to connect.  Traditional sashing of 2" would make the quilt larger than I wanted.


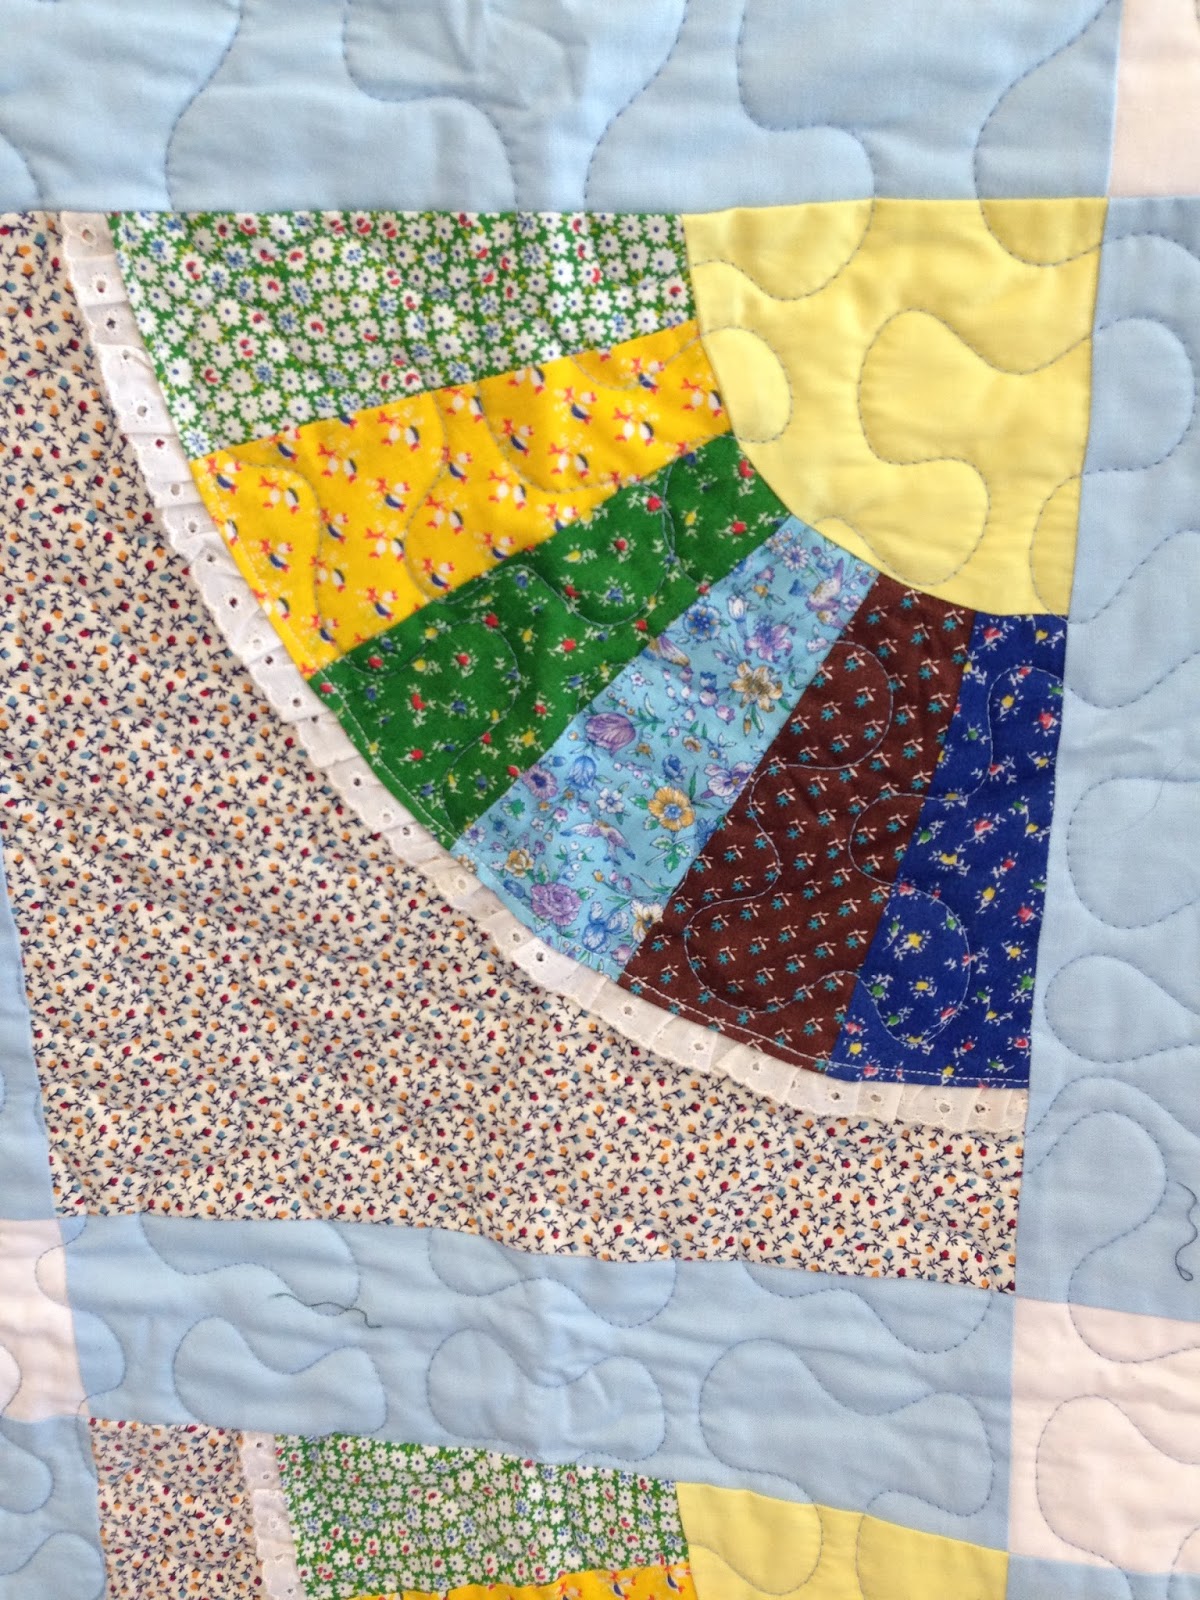
On my Beehive quilt, below, I wanted to play more and experiment with several things:  stitches, fabrics and techniques.  The top's connectors, using the seam allowance as batting, are attached with no top stitching, similar to how sashing is normally attached.  On the back, however, only one edge can be attached from the underside.  One side must be topstitched.  In the original or "traditional" method taught, this edge of the strip is hand stitched. The traditional method doesn't have the long line of stitching showing, but wasn't going to hand stitch all these blocks.  I used my machine, hoping to disguise the  bobbin stitching-now on the right side- with overall quilting. Well, nothing is quite that simple in my world.  The quilting on the top, in this case, involved decorative stitches around each of the circles.  What to do with the somewhat, mostly straight line, now showing....use matching thread.  It provides a border, of sorts, to the seams.


 With the Circle Quilt narrow strips of 1 1/2' of a fabric were cut with both long edges pressed to the center.  This strip was then placed over the space created by the topside's sashing strip.  It worked ok, but the iron's steam was a bit too hot on the finger tips.  Thus, the method I used below was devised.


Unlike the other quilts, this top had a very defined pattern and did not require any top sashing.  Yeah! I quilted as I goed,  QAYG, all three layers, in blocks of four.  Each four patch was about 18".  The quilting required more planning than I usually do.   All in all the machine quilting was no more than one long row of four four patch blocks.   The large squares I practiced free motion with my new machine - not so good, but the thread is hidden (learned that lesson finally).   Now for the backside.

 I alternated four fabrics behind the front's four patches.  The connecting sashing matched one of the backings, as shown in these two pictures.

Since I used the seams allowances, 1/2" (two 1/4') as my batting, I just needed to add a strip.  The picture below shows the strip topstitched.
While the strip may not be as smooth as other methods, I enjoyed this method, it met my emotional standard.

Here's how I made the strips:


 Steam press the seams open and make them flat as possible.
 Cut a strip long enough for your block 1 1/2' wide.  Since I'm not as an exact sewer that I dream I am, I strive to make things to work.  Sew the strip, wrong sides together with 1/4" seam allowance. While opening the tube by pressing the center, align it to the strip's edge as shown above.
 With your flattened tube strip, trim the allowance down to 1/8".  At first I left the 1/4" and threads from the edge peeked out .  Yuck.  The trimming moves the raw edge away from the topstitching edge.
With the right side of the strip up, lay it on top of your flatten seam allowance and top stitch close to each edge,  to the end.  (This strip is perpendicular to the seam it will cover for illustration purposes only.)

Here's a completed block also showing, look closely, that because of the pattern on the topside, this vertical stitching won't really conflict.  

Lessons learned:
  • QAYG will make the topside blocks smaller.  I chose to space the vertical quilting the width of my walking foot.  This pattern has considerable blank space and required something.  The angle of the patterns also led to straight line quilting.  The heavily quilted blocks differed in size with the less quilted blocks.
  • If to do over?  Space vertical lines further apart....this quilt is really heavy!
  • Limit thread color choices.  On the Circle Quilt I was changing thread colors endlessly since I was rotating three fabrics and the top had several background colors, too.  I really think I wore out a seam ripper on that quilt.  On the Star quilt I used either white or a lime green.  Even then when applying strips, make sure the bobbin thread matches the top background fabrics....
  • The smaller quilts, like the very top examples, work better for some one like me who reaches the need to be done....more than anything.  
I hope this experience of experimenting helps you try QAYG in some method.  Just Google QAYG and you'll have severals tutorials from which to choose.

In case you're looking for a fast quilt, this pattern by Amy Gibson of Hickory Dickory Dock, has it now on her website.  I purchased it as a Craftsy.com kit.  In case you're wondering, I have a good amount of fabric left over.  Not enough to make several other quilts, but enough that I think I'll go back to The Quilting Edge and try that method.....great for scraps of all sizes.  The Craftsy.com kit was generous, but not too generous....just right.


Sunday, October 11, 2015

Third Wednesday Quilting...

For over six years now a group of us, all strangers in the beginning, started quilting together making Civil War Commemorative Quilts.  While I'e never been a lover of the CW quilts or fabrics, I did like the block of the month offered way back when. My techniques and knowledge increased tremendously.   All of them told a story each month, highlighting the feats of women.   However, many huge quilt BOMs later, we still meet, all friends and quilting buddies.  I've shown Pauline's quilts in the past, but she just keeps on kicking our quilts for her family.

The top and lower picture is a quilt she design and made for her new grandson, 5 months old!  She found the logos and hand traced them.  Much of her appliqué is hand done.


 Here Pauline is showing her use of 30"s material....just using it up!  This quilt might also be from the 1930's in real time.  She's been trying to fix and finish a top she was given.

 In addition to Pauline, Linda L joined other new friends on the third Wednesday, and did a BOM led by Sue and Marilyn ( 3rd Wednesday veterans) called El's Kitchen.  Since I sort of wished I had done this BOM I am doing a new one starting in October.  Sue and Marilyn are again leading a class on Vintage Farm Quilts.  I chose the 30's fabric as it is brighter than the alternate.  
How are all these selections modern, you ask?  Maybe not what you may think, but promoting what we all do is important for all of us to succeed, no matter our preference....it's that Liberal Arts education I had popping up agin....  I'm hoping Pauline will have her family quilt, with at least 20 or more old photos on the top completed!

Do any of you have a pattern for the Japanese apron shown here?  I would love to make one as it doesn't require ties or snaps, just over the head....


Friday, October 9, 2015

Our own Art Prizes.....

Grand Rapids is now winding down its Art Prize 7.  For those not familiar, Art Prize, allows artists of all types to showcase their creations around Grand Rapids.  This year over 1500 entries in five categories covered our downtown, near downtown area plus the beautiful Meijer Gardens and the newly added Granville Avenue area.  I think, overall, approximately $250,000 or more in prize money is awarded to the top vote getting artist.  Juried artists receive a generous cash award as well.  At Tuesday's GRMQ meeting we had our own art showing of the quilts made by members and guests.
Enjoy!

Two children swinging on a rope into the Ford Museum's pool area....note the flip-flops.

Now ours!
 Lynda P shows us her Row by Row quilt!  Really cute!

 Kathy N shows us another one of her cool modern designs
Lindsey cut the blocks she won to make this interesting and neat quilt.  
 Lyndsay also was practicing her free motion on placemats.
Nancy is keeping the geese flying with this great quilt.  I missed whether is was a kit or scrappy.  Either way it is a masterpiece in my mind....all those points!
 A new Halloween table topper using milder colors than the traditional bold oranges and blacks.
 Kelly is a member of the Modern Beehive hosted by Stitched Studio.  This quilt will be a summer quilt for her bed.  She gave us the gray and the squiggle fabric.  
 Jan created this art quilt.  The quilting is all programmed as were the flowers in the center.
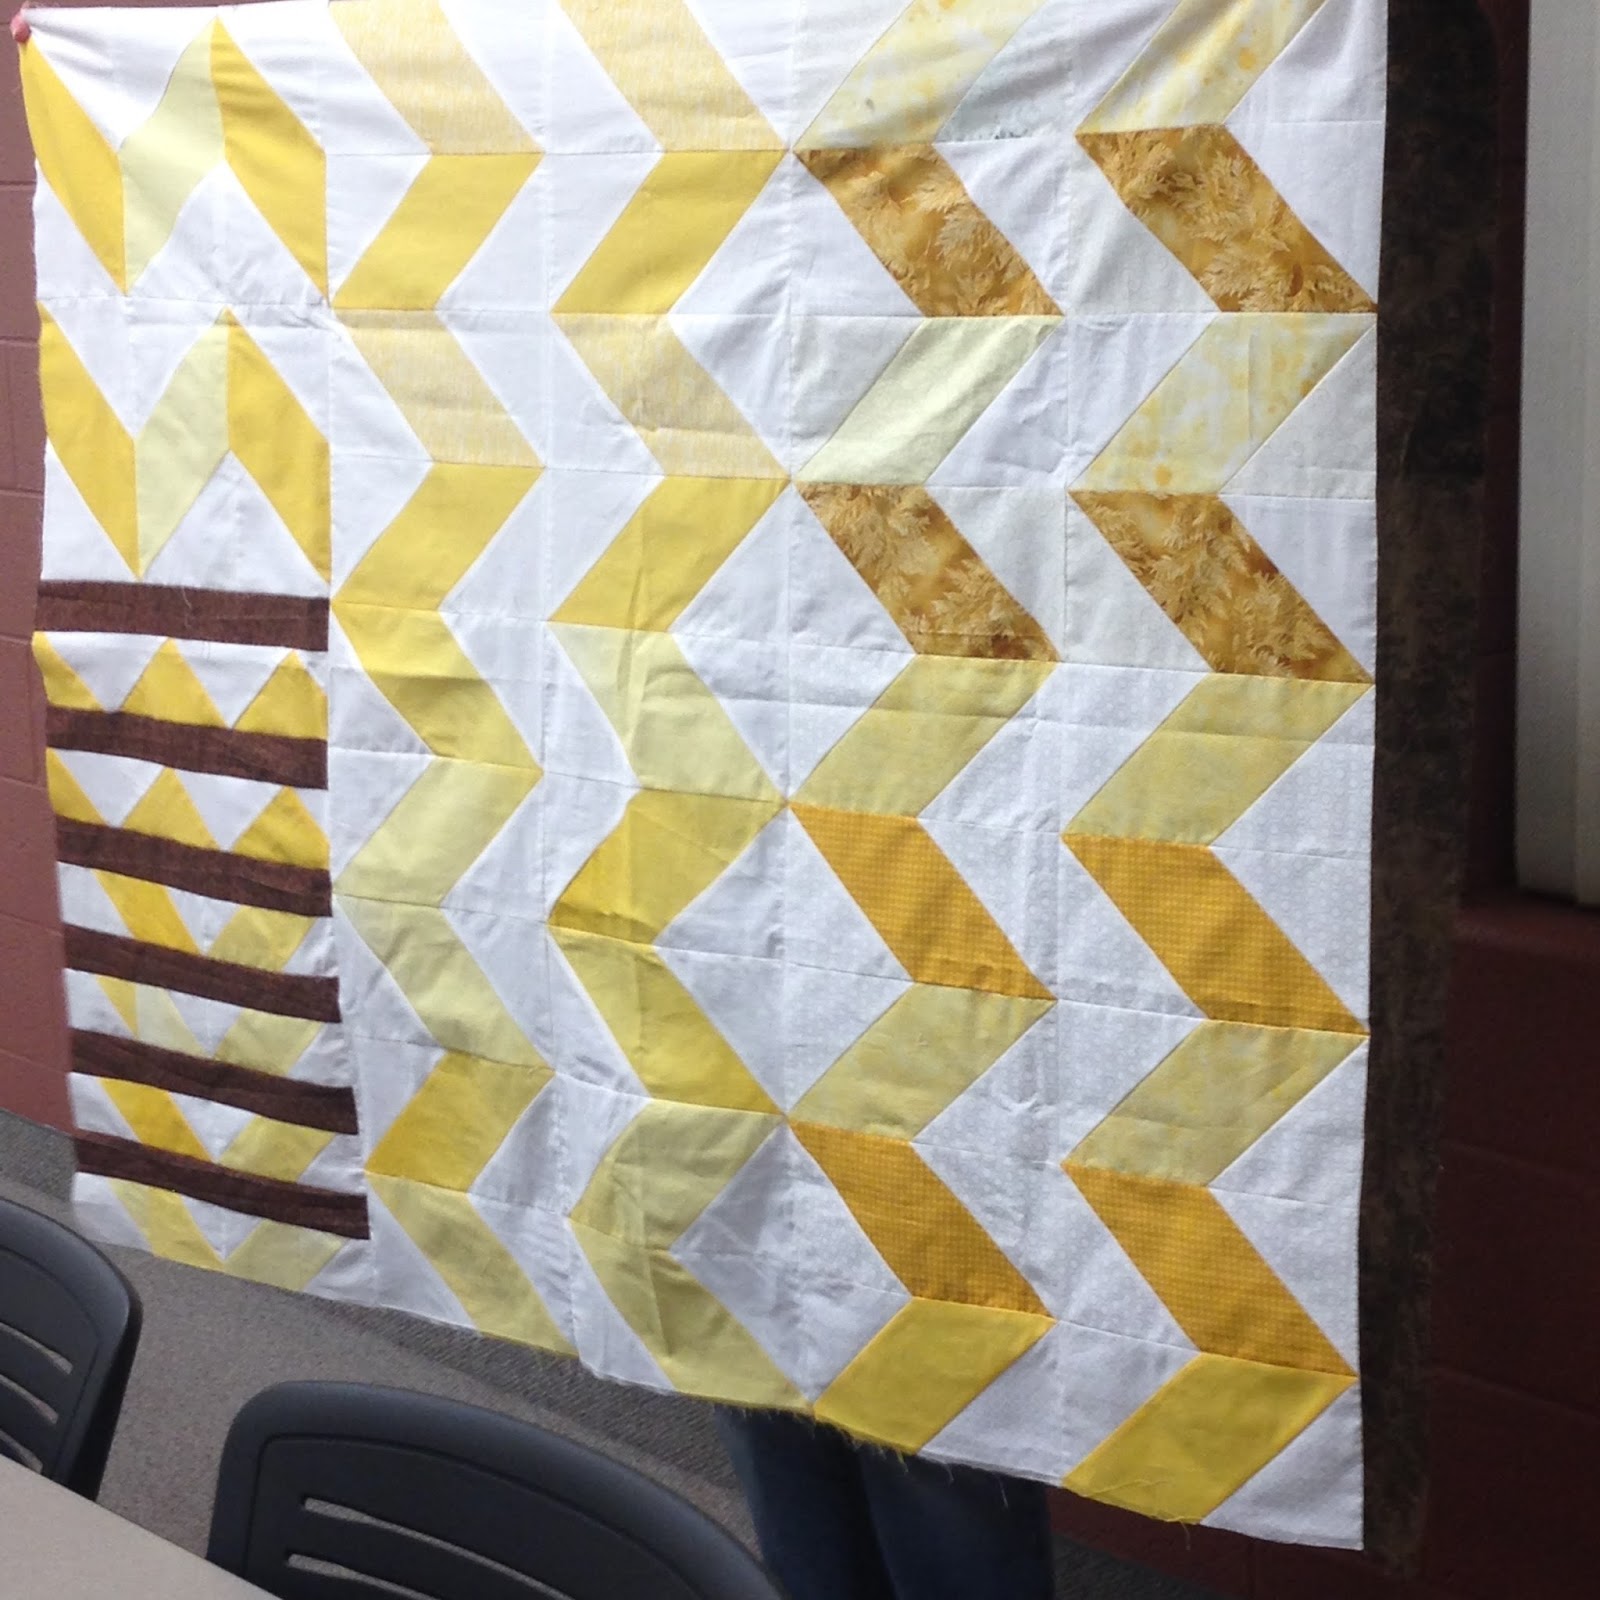
 Marcia, above and below, shows first her block luck.  I think she won these at our meeting a couple months ago.  She mixed them up as they were a bit boring.  I love how she added the horizontal brown bars. 
 Many of us have seen quilts with all this feathering and coloring.  We also were very surprised that Marcia colored the feathers!  I think we need a special Saturday afternoon class teaching us this technique.  Coloring is now the rage for adults....books, special crayons and paints!
 Her quilting on the reverse side, not shown, was beautiful, but the colors did bleed.  
 Adrienne snapped these two photos of my work - in one month - a record for me. The circles were from the Beehive group that many of us belong.
 The above quilt was purchased last June or July for a sew along with the designer Amy Gibson in September, 2014 -offered on Craftsy.  I missed the sew along as I was in Russia most of September...so it took another year for completion.  I did my version of QAYG on the reverse side.
 Becky showed us this quilt as a top several months ago - her buddy Catherine brought it to the meeting as it was fresh off the long arm.  It is so beautiful.  See Catherine's work below.
 I've seen many of Catherine's other beautiful quilts as she, too, is a regular at Attic Window.  Here is an absolute beautiful example of the swirling lonestar that Vicky Stark teaches at the Attic Window. 


In case you never had a formal lesson on squaring fabric or need a refresher the Craftsy blog has this tutorial.  I've been taught that the manufacturer's fold or permanent fold was okay to measure from, however this lesson says otherwise.....watch.

Have a great weekend....I'm heading to Newell, WVA to the Fiestaware factory tent sale.....all that color....yeah!  Check my Instagram account for pictures if curious...GRLady.

Thursday, October 8, 2015

Sewing Retreat on Lake Michigan....

Here's a note copied from Facebook about open spots at our planned retreat. Imagine sewing for several hours then taking a break watching the waves pound the shore in October....

   
   Facebook
   
   
Kathy Criger Nelson and Holly Stockley posted in Grand Rapids Modern Quilters.
   
Kathy Criger Nelson
October 8 at 9:43pm
Grand Rapids Modern Quilters have a weekend retreat planned in Grand Haven October 30 thru November 1st. We have room available for daytime quilters. We have a large room available for sewing on Friday from 10-? and Saturday from 9-?. You are welcome to stay as late as your want. We are asking for $10.00 per day per quilter. The venue is providing large tables and chairs.

You would want to bring extensions cords, machine, your project, and anything else you use. We will have a designated cutting table with a large cutting board. Bring your cutters. There will be two ironing boards but feel free to bring a small one for next to your table if you like.

Lunch is going to be a snack type food potluck. Dinner will be out at a restaurant or you can stay and sew.

The venue is Christian Reformed Conference Center http://www.crcg.org. The Gathering center is where we will be sewing.

Email me prior to thursday if you are planning on attending so we can set up enough tables for everyone. After that you can call me 616 258-4886.
CRCG
www.crcg.org
   Like
   Comment
   Share


View on Facebook
   

Edit Email Settings
   
   
Reply to this email to comment on this post.
   
   
This message was sent to grlady1950@gmail.com. If you don't want to receive these emails from Facebook in the future, please unsubscribe.
Facebook, Inc., Attention: Department 415, PO Box 10005, Palo Alto, CA 94303
   

Wednesday, October 7, 2015

Word is getting around that GRMQ

is the place to be on the first Tuesday of each month.  I walked in about 10 minutes before the start time and had to shift some beautiful quilts to sit!  How great it is!


I think at one point there were 25 quilters waiting for the meeting to begin.  It was a very good meeting as well.  It is amazing the talent  we have among our ranks.  


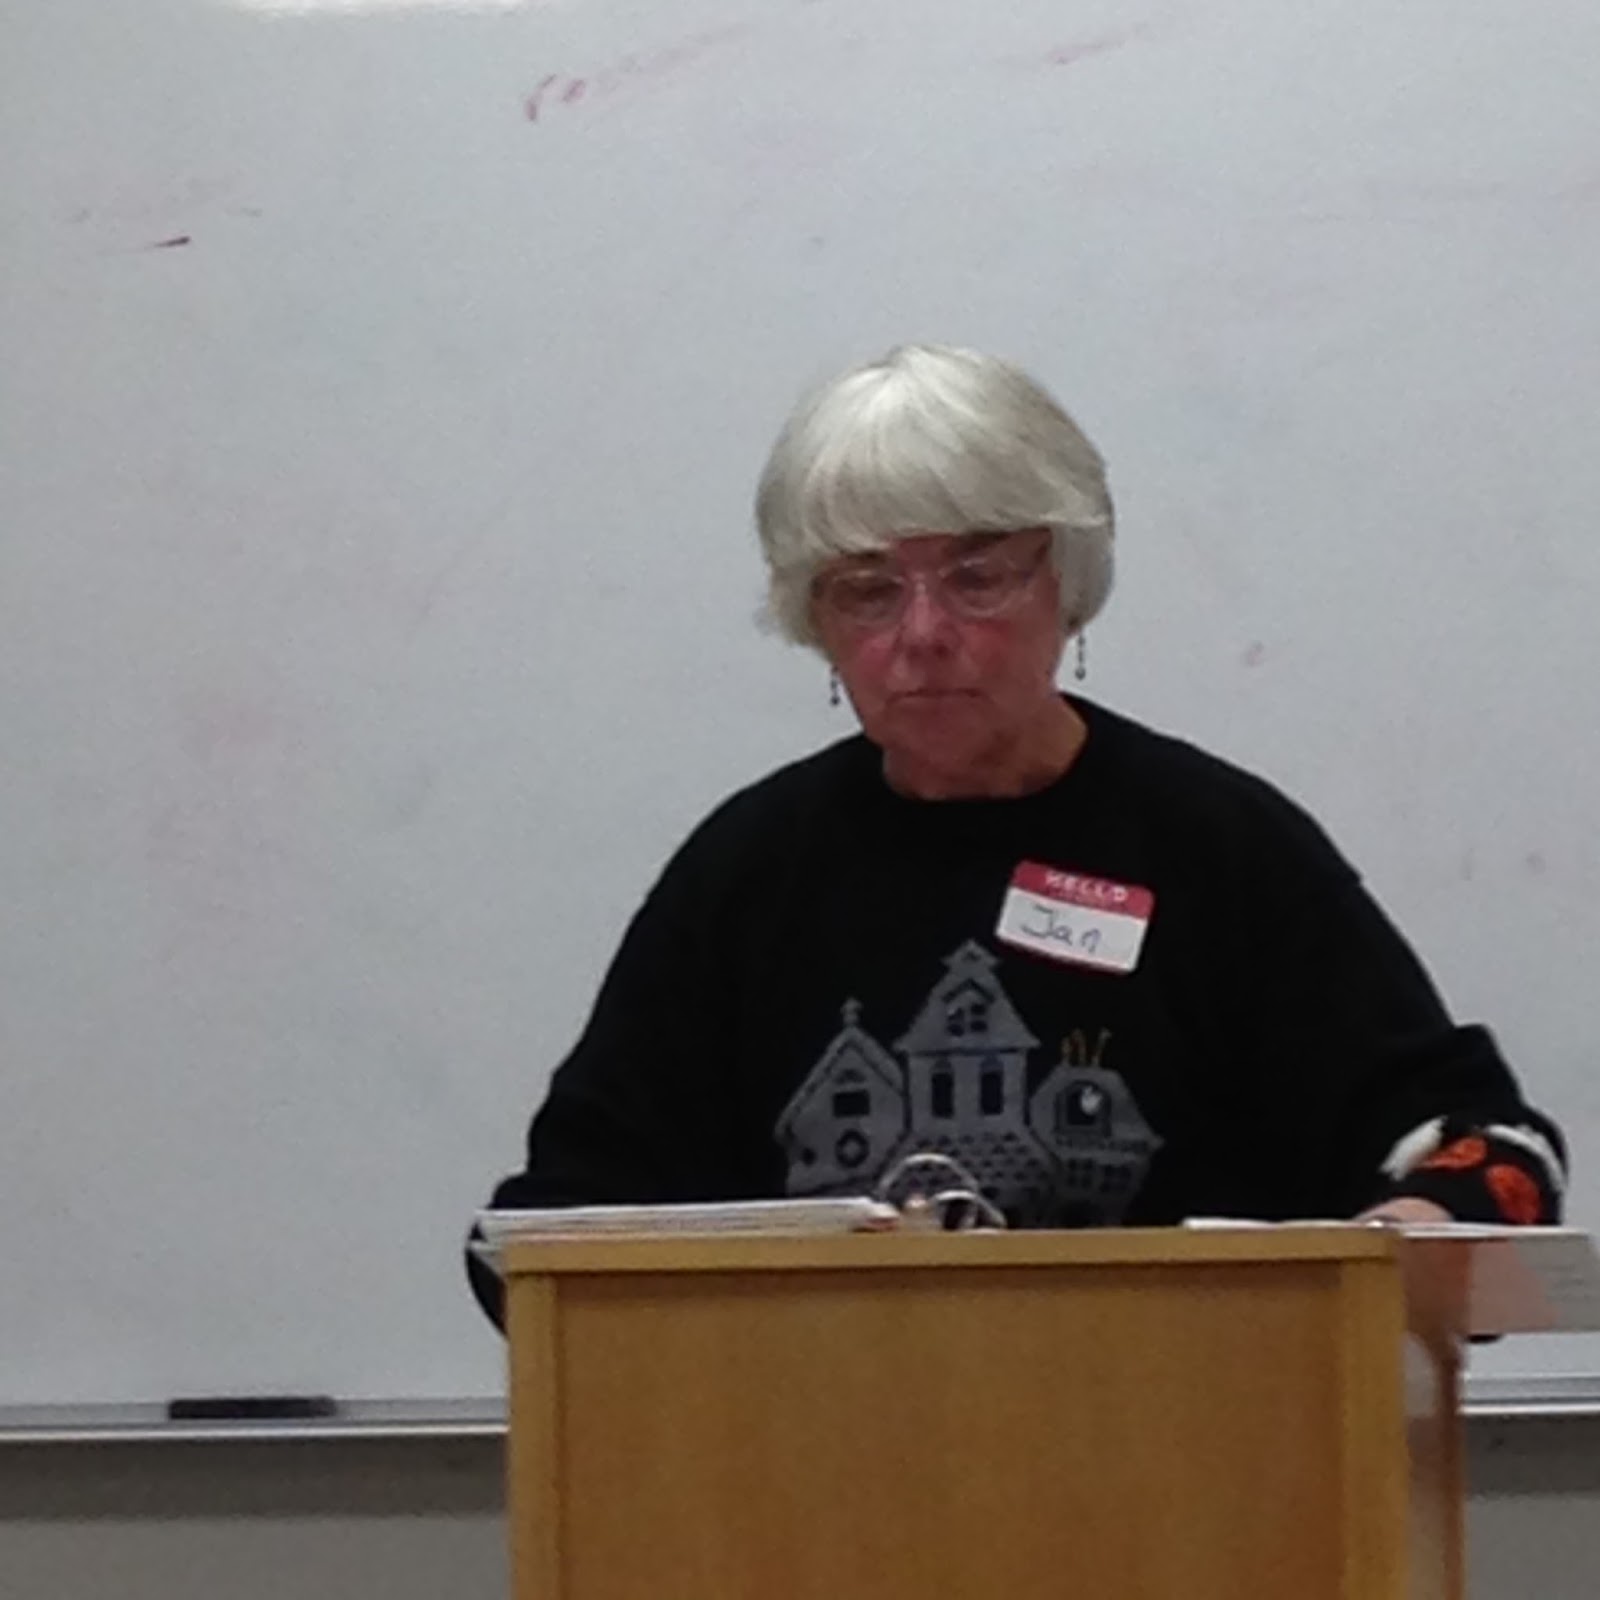
 Jan offered to present a quick lesson on threads.  Oh, boy!  It's no wonder why the quilts she has shown at previous meetings look so beautiful.  While looking so professorial at the podium, she took over like the pro she is.  Her employment with Superior Threads equipped her and anyone she coaches with so much knowledge.  With her various samples from Connecting Threads, Coats & Clark, Aurifil and Sulky she led us through the thread selection maze.  Quick notes include:

  • Staple:  at the length of the fiber being twisted.  Longer the better for strength.
  • Egyptian cotton:  not necessarily grown there, but seeds from the plant called Egyptian cotton produced the fiber;
  • All of us who have inherited thread from our mothers and grandmothers know this but can't dispose of them - thread has a shelf life.  Old thread - throw it out.  I do use it sometimes when sandwiching a quilt...if it doesn't continually break while basting.
  • Rayon thread is not colorfast and most likely melts under a hot iron typically used in quilting;
  • Mercerized thread will not shrink - a good thing.
  • The biggie:  the numbers on the spool.  Visualize weighing a pound of thread- the more thread needed for 16 ounces the thinner the thread (high number); likewise the thicker thread has a lower number since it takes less to make a pound.
  • When machine quilting, a sewer can use any type of thread and the top and bobbin threads do NOT have to match weights.  Jan prefers to quilt with polyester thread because she likes its appearance.
  • The main criteria for selecting a thread to use should be the impact on your sewing machine.  The lower number threads are thicker (takes less to make a pound) will lint more than the thinner threads(higher number).  The lint accumulating in the bobbin area can be very difficult on your machines performance.  
  • Metallic threads:  must, must, MUST change the tension on your machine to 0 or less than 1 and despite what the store clerk may tell you, a number 90 needle should be used.
  • Needles:  while the new titanium COATed needles cost a bit more they lasts longer - the finish protects the needles from chips.  
  • The groove on the needle faces you....so the thread has a path to follow (likewise, the flat side to the rear);
  • Jan also indicated that thread should feed into the machines' tension disc from a vertical position and not a horizontal angle.  Her visual used a roll of ribbon unwinding.  Try it at home at both angles - you'll see that the horizontal angle twists the thread, while the upright angle do not. 
  • Link for more information:  Superior Threads
Pictures of our creations and hard work on the next blog.


However, I'm going to repeat a"conversation" I  posted several weeks ago on use of the FriXon pens.  At a meeting I showed the shadowing that can occur using these pens on the right side of the fabric.  While I do use the pens, now only on the wrong side,  several persons defended their use since their experiences hadn't soured.  Please read this posting, as Jenny K Lyon talked with the manufacturer of of the pens.  All You Need to Know on FriXon pens.  The new news on this issue for me was that washing doesn't remove the gel.  She too, expresses some frustration over this issue.  Many of you may think similar to me that your quilts are not heirloom or quality for a show.  But as women, mostly, don't discount the value of your time and efforts (we do it far too often).  Well, well, that's my rant for today.  Keep up the good work and deeds that all quilters do!

Friday, October 2, 2015

Meeting Time

Where does the time go!  Our monthly GR Modern Quilters meeting is Tuesday, October 6th.  Of course, we meet at Kuyper College on the East Beltline between Three and Four Mile Roads.  7pm

I just received an email from Kathy Nelson who is planning our retreat in October.  Since there have been a few cancellations, if you're interested in attending just go to the Facebook page for Grand Rapids Modern Quilters.  You'll never get a better price for a lakefront stay on Lake Michigan unless you own a property or a rich grandma!

Last Friday turned into an absolutely beautiful day.  After years of pining to be able to pack up and just go to the beach.....I did, with dogs in tow!  Enjoy!

 Normally these dogs hate the water, but they had fun this day.

 This picture shows Meg, my daughter's dog, drinking down the lake, the other dog, Bernie is the only that requires a pit stop on the way home.  He just thinks the lake is just one big water bowl.
 Kruse Park, Muskegon, MI
The envy of Chicagoans!